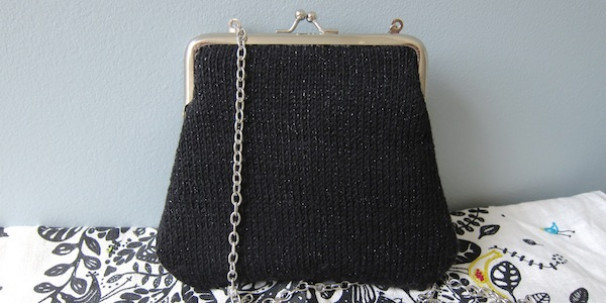
I don’t know why, but I really had a desire to try making an evening bag using a purse frame. Maybe it’s because I’d never done it before, so it would be a new challenge to me. On top of that, I wanted to make it a knit bag. Thus July’s Bag of the Month.
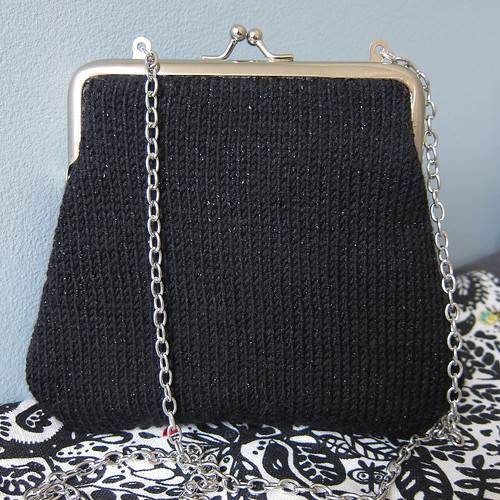
First I had to find the frame. I didn’t like any I saw in the stores here because the closures were huge or the frame was bigger than I wanted. I ended up finding the one I used at Pacific Trimmings in NYC (there is a link to it in the supplies list below). It was perfect and under $5.00.
Then, I had to learn how to design and attach a purse to it. That led me to U-Handbag. This lovely site had great step-by-step instructions on using a purse frame and how to design a pattern for your particular frame. She also sells a lot of supplies and kits for making purses like this.
I decided to do something special with the lining for this bag and use my own photos as the fabric by printing them on Cotton Inkjet (see supplies list for link). It really makes for a personal purse.
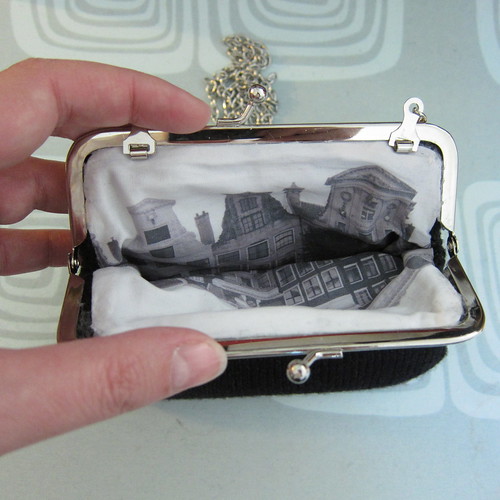
I think this would be beautiful done in a white or cream silk for a bride with a photo of the bride and groom inside as the lining. Too bad I don’t know anyone getting married.
Knit Evening Bag
You can skip the knit part of this bag and just do it with all fabric. Keep in mind this pattern is made for this particular purse frame. If you use a different frame vist U-Handbags to learn how to draw your own pattern.
Supplies:
- 1 skien sport weight yarn (I used King Merinos Lamé which has a beautiful shimmer.)
- size 2 needles (or size needed to get gauge)
- tapestry needle
- 5″ x 2 1/2″ purse frame (this is the one I used.)
- 1/3 yard lining fabric (or two sheets of Jaquard Cotton Inkjet to make photo lining)
- 1/3 yard heavy sew-in interfacing (don’t get the stiff stuff that is very thick, get the thinner one)
- fabric scissors
- pins
- thread
- very strong fabric glue (I used Fabri-Tac)
- small embroidery scissors (optional)
- length of chain (length depends on how long you want your purse to hang)
- small pliers
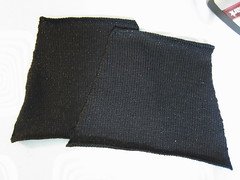
1. Knit the front and back panels of the bag.
Gauge: 8 stitches per inch, 10 rows per inch
Do all decreases by either knitting or purling two stitches together.
Cast on 68 stitches
Rows 1 – 4: Work in stockinette
Row 5: Decrease 1 stitch, knit or purl until last two stitches, decrease one stitch.
Repeat those 5 rows until 42 stitches remain.
Work one row even.
Decrease 1 stitch, knit or purl until last two stitches, decrease one stitch.
Bind off. Weave in ends.
Steam block the knit pieces.
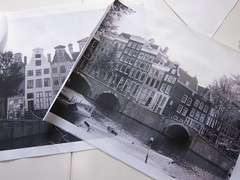
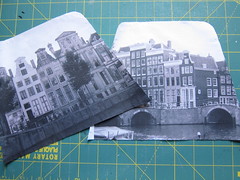
2. Download and print the Knit Evening Bag Pattern. Cut two of the pattern from the lining fabric and two from the interfacing. I decided I want to make a custom lining using some pictures I took in Amsterdam. I thought about pictures where the image would center well on the pattern. See this post for my tips on printing on the Cotton Inkjet fabric.
Mark the end of the clasp on all the pieces.
3. Ok, now we have all our pieces, let’s start sewing this baby together. Place a knit piece on top of one of the interfacing pieces with the wrong side of the knitting facing the interfacing. Place the other knit piece on top of the first so their right sides are facing each other. Place the last piece of interfacing on top. So, you have a sandwich with the knitting on the inside and the interfacing on the out. (I found it easier to sew the interfacing pieces to each of the knit pieces and then sew the whole thing together.) Sew together with a 1/2″ seam between the clasp markings.
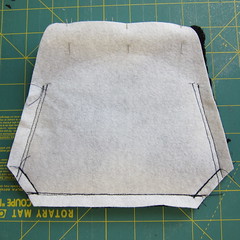
I also decided to give the corners a little shape, so I sewed across them a couple times and trimmed off the excess.
Don’t stress if your knit piece is slightly bigger than the pieces you cut from the pattern. Mine were, so I stitched my seam lines a couple times and then just trimmed the excess knitting of. Yes, I cut my knitting! If you are worried. put a little glue or fray stop on the ends.
4. Put your lining pieces together with the right sides facing each other. Sew between the clasp marks, but leave an opening at the bottom for turning the purse. If you trimmed off your corners like I did, do that on your lining too.
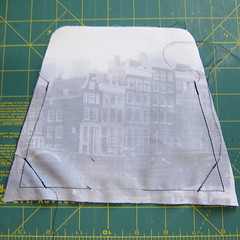
5. Turn the knit piece you sewed right side out. Slide it into the lining. The right side of your lining will be facing the knitting. Match up the tops, pinning each side together (one side of the lining with one side of the knit piece). Sew between the clasp marks at the top of the bag on each side (you are not sewing the whole bag together just the two sides).
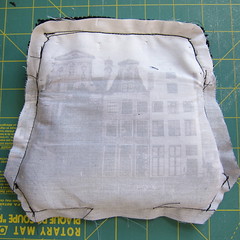
This part was a little tricky because of the bulk, so I did it a little at a time. My corners weren’t perfect but once turned it looked fine.
6. Pull the knit part of the bag out through the hole in the bottom of the lining. Sew the hole at the bottom of the lining shut.
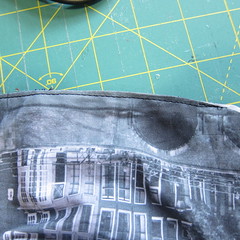
Push the lining into the bag. Make sure to get the top corners completely turned out. Press.
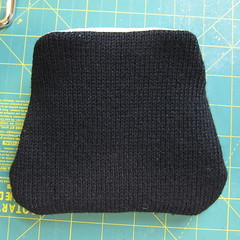
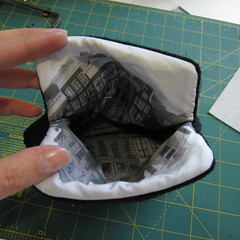
7. Now comes the tricky part, glue the bag into the frame. working on one side at a time, put a generous bead of glue into the channel of the purse frame. Let it sit a minute or two. Starting at the sides work your purse top into the frame. Do your best to get both the front and lining in all the way around. The tip of a pair of embroidery scissors were a big help here. (U-Handbag shows this step really well, I didn’t have enough hands to do it and photograph it.) My lining corners were off a bit, thanks to my sewing, but I was ok with it.
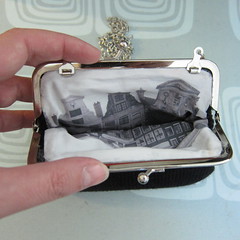
The glue can be messy. It is easier to get it off the frame than the yarn, so try to be as neat a possible. I had a few small glue marks at the end, but a black sharpie really covered them well. Let dry over night.
7. Attach the chain to the loops on the purse frame using small pliers to help open and close the links.
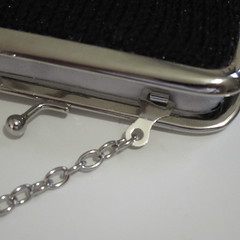
If you find your purse has a hard time closing because of the thickness of the fabric sandwich, I found bending the closure just a little bit took care of that.
Now go out on the town sporting your one of a kind evening bag!
© 2005 – 2012 Kathy Lewinski & Susan Cornish



Very cute. I prefer the frames that you sew in place rather than glue, but the idea is mostly the same.
Seanna – I looked at the sew in ones too but they didn’t give the same clean look.
Awesome! I love the lining. It adds such a special touch.
That is awesome! What a delightful GIFT idea as well and the lining could be customized to the individual! Thank you for sharing the pattern.
Pingback: Siyah Örgü Gece Çantası Yapılışı | Hobi Fikirleri Yaratıcı El İşi Örnekleri
Pingback: Free Pattern: Knit a Bag with a Photo-Printed Lining · Knitting | CraftGossip.com
That’s just fantastic! I love the knit bag but, even more, I love the lining! What a fun idea.
Wonderful tute!!! thank you so much. Isn’t that site, U-Handbags, the berries? what a generous sharer she is.
I am SOOOO going to do my own print….after I read your blog on it.
Pingback: Bag, Purse and Tote Free Knitting Patterns | In the Loop Knitting