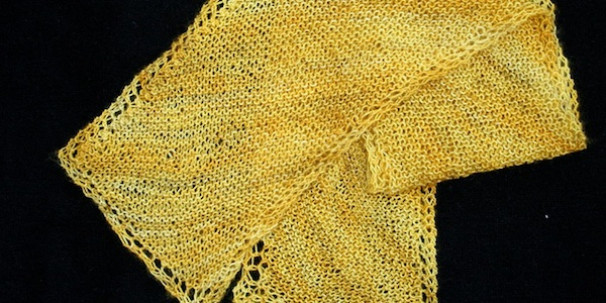
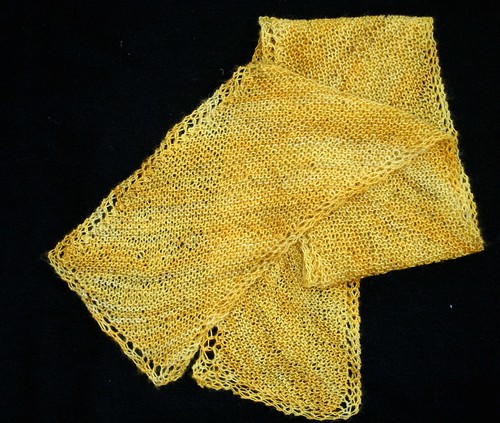
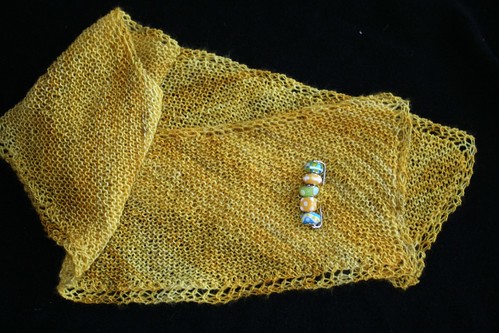
Everything about this scarf is special to me. The yarn was purchased on my trip to NY last Sept. It is made for a favorite person of mine, who was admiring the yarn when we were there. Every stitch was done with love. I am so pleased with how it came out.
Spring Scarf : Diagonal Scarf with Boarder
Download a pdf of the Spring Scarf Pattern
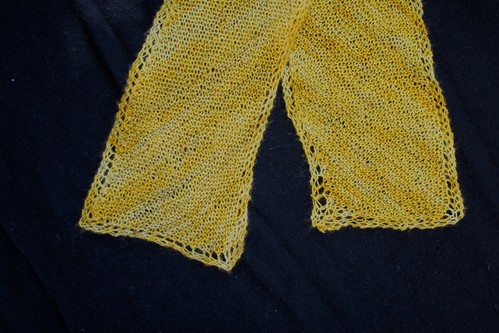
This was meant to be an accessory piece, not a ‘warm winter’ scarf. My intention was to just make a delicate splash of color. The final scarf is 36″ long and 5.5 wide.
Supplies:
- yarn ( Prairie by Madelinetosh yarns, a laceweight, superwash merino wool in the color Candlewick. A ball is 840 yards. The amount of yarn you use will depend on how long you want the finished scarf.)
- appropriate needles (shown here on circular ebony sz 6)
Abbreviations:
- K2tog – knit two together.
- skpsso – slip one stitch from the left needle to the right needle without knitting it. knit the next stitch. Pass the slipped stitch from the left needle back to the right needle. (this is a decrease stitch)
- yo – yarn over. take the yarn around the needle. (this adds a stitch to the count.)
- (x) – the number of stitches on the needle at this time.
Set-up
Cast on 3 stitches.
Row 1: Knit 2, yo, knit one.
Row 2: Knit 2, yo, knit to end.
Repeat row 2 until you have a triangle that is as long on one side as you want the width of the scarf to be. (the stitches on the needle will not be the width.) For me, this was 45 stitches.
Body
Now, you are going to effectively turn, and make the length of the scarf.
On the next row, and from now on, you are going to keep the same number of stitches.
K2, yo, knit to within 5 from the end, K 2 tog, slide that stitch back to the left needle, slip the next stitch over the stitch you just made. Then transfer that stitch to the right needle. YO, K 2.
This set of stitches ensures that you will have a hole on both sides of the scarf.
Turn, and knit back
(Tip: Mark the back side of your scarf with a marker or even just thread – to keep your increases and decreases on the front side. The front and the back will be important later too.)
Repeat those two rows until the scarf is as long as you want.
Decrease Corner
When it is as long as you would like, you are going to start the decreases.
Strangely enough, you will continue the same pattern on the front (to make sure that you still have the lovely holes that make the lace border. )
On the back you will decrease one stitch on both ends. Knit 2, skpsso, knit to within 5 of the end, K 2 tog, slide that stitch back to the left needle, slip the next stitch over the stitch you just made. Then transfer that stitch to the right needle. K 2.
Do this until you come to the row where you have 8 stitches. (This will not be enough to do the normal pattern.)The front will just work k2, skpsso, yo, k1, K 2 tog, slide that stitch back to the left needle, slip the next stitch over the stitch you just made. Then transfer that stitch to the right needle, yo, K 2.
On the back k2, skpsso, k2tog, K 2 (6)
K2, yo, k2tog, yo, k2 (7)
K2, k2tog,K 2 tog, slide that stitch back to the left needle, slip the next stitch over the stitch you just made. Then transfer that stitch to the right needle, k2 (5)
skpsso, k2tog, slide that stitch back to the left needle. slip the next stitch over the stitch you just made. (2)
K2tog. Cast off last stitch.
Leave 12 inch tail. cut yarn. Weave in ends.
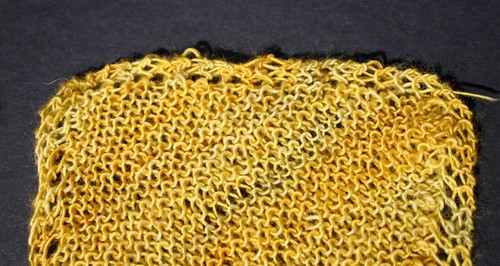
The way I usually weave in ends is “straight”. And for this scarf, that got in the way, and did not look as good. You can see the yarn worming up between stitches at the top.
Instead, try weaving the yarn in a more random pattern, and down into the work. That way it will be invisible.

Off it goes! I hope she likes it!
copyright 2012 Susan Cornish
justcraftyenough.com
Please do not sell this pattern. Please do not sell finished product made from this pattern. Please do not teach this pattern without contacting me first. Thank you.
© 2005 – 2012 Kathy Lewinski & Susan Cornish



Pingback: Free Pattern – Easy Spring Scarf · Knitting | CraftGossip.com
Heyy, thanks for the awesome pattern! I was wondering, did you use up the whole ball, as in the whole 840 yards? Thank you so much!
Natalie~
Natalie, No, goodness. I’m sorry I don’t know how much I used, but I tried two different patterns with the yarn, and I still have more than half the ball left. If I had to guess (and really, it is a GUESS) I’d say this takes 150 – 200 yds. It’s not a big project. Hope that helps!
Phew 😛 I’ll be sure to get cracking on it after my exams finish! i.e. tomorrow, you know, those kinds of exams you know you’re supposed to be studying for but you’re looking for gorgeous knitting patterns instead… 🙂
Natalily~
Pingback: Spring Scarf | Crafts: Unknown Knowledge | Scoop.it
Thanks for the pattern so I can use some yarn I have and didn’t know what to
make!! This is just the right thing as I am watching TV and working on it.
My yarn is shaded also and it’s not a hard pattern to keep me going!!
Great things and being elderly, I cannot afford to buy the ones I really like.
Thanks again & God bless you and yours.
Ruthie
Ruthie, Thank you for stopping by our site! And thanks for the lovely comments. I’m so glad you like the pattern.
-Susi