If you’re going to give chocolates this year, why not make them yourself?!

Ok, I know it sounds a little crazy, but it was actually easier than I thought once I got the hang of it. It took me about three hours from start to finish to make almost three dozen chocolates, that includes the time to make the fillings. Plus I was able to fill the candies with anything that caught my fancy like bacon jam and salted chocolate ganache.
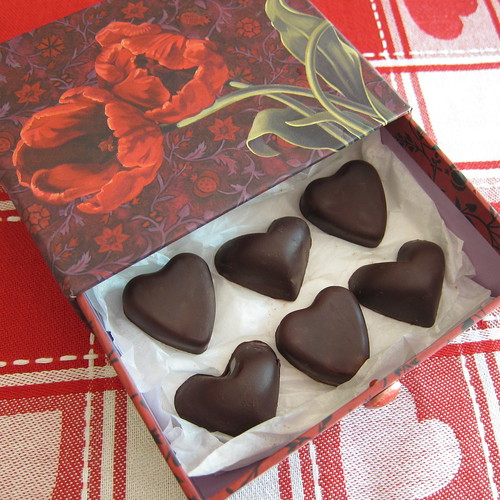
Package them in a pretty box for a special gift. I didn’t have any on hand, but mini cupcake liners would be great to hold single chocolates in a box.
Filled Chocolate Hearts
Supplies:
- Heart-shaped silicone ice cube trays (or plastic chocolate molds). I used ice cube trays from IKEA and Target
- Double boiler
- Chocolate (I used a mix of Scharffen Berger 90% baking chocolate and semi-sweet chocolate) 6oz of chocolate made about 21 chocolates.
- Cutting Board
- Knife
- Spoon
- Small paint brush (one that hasn’t been used for any else before)
- Room temp or cold fillings (I filled mine with bacon jam and flavored chocolate ganache. You can get the recipes for those on my food blog, A Good Appetite.)
- Freezer
Put your molds in the freezer until ready to use.
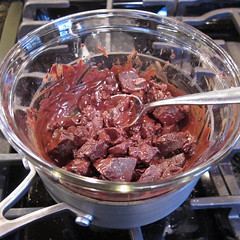
Cut your chocolate up into small pieces and melt in the double boiler. (I just use a small saucepan and pyrex bowl for a double boiler.) Stir the chocolate until it is melted and smooth. At this point you can either turn the heat to low or off completely.
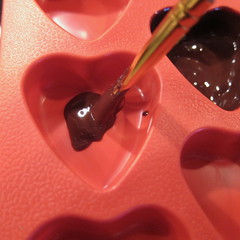
Using the brush, paint the inside of the molds with melted chocolate. Make sure to get all the way up the sides. If you go over the sides wipe it off. Put into the freezer to set. Repaint with a second coat of chocolate paying special attention to the sides. Set in the freezer again.
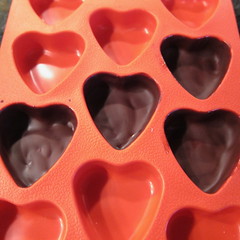
You can add another coat of chocolate if you think it isn’t thick enough or move on to filling. On my first batch I did three coats on the bottom and four on the sides. It was really overkill. Once filled and set the chocolates are stronger than you think especially if you are using a filling that hardens up a bit like ganache. Put filling in the molds leaving about 1/8″ head space.
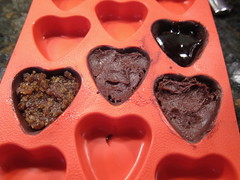
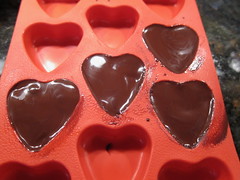
Using a spoon, pour melted chocolate over the top of the filling. Use a knife or your finger to help spread it out. You want the filling to be as even with the top of the mold as possible. Let set in the fridge or freezer. Make sure to give them time to completely set or you’ll end up eating a bunch of broken chocolates. Carefully press the chocolates from the molds. I would keep my chocolates in the fridge until ready to give or serve.

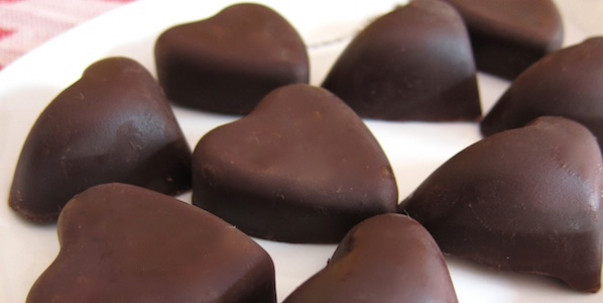
I didn’t temper my chocolate, so it didn’t come out super shiny. (Tempering is a method of heating and cooling chocolate that gives is a smooth glossy finish, it’s a little more work than I wanted to get into on a Sunday afternoon.) For some reason the ones in the Target molds came out a bit cloudy (I know cold can give chocolate that cloudy look, so maybe because the Target molds were smaller and made of thinner plastic the cold effected them more). I found a little damp paper towel or finger wiped a good deal of the cloudiness off. The cloudiness doesn’t effect the taste at all and I’ve really enjoyed snacking on my own chocolates this week.
© 2005 – 2012 Kathy Lewinski & Susan Cornish



This looks awesome. I made marmalade over the weekend, which would be an awesome filling!
yummy! I might have to try these 🙂
Love the candy hearts. I wish I had the desire to make these. I do have the desire to eat them though.