I’m one of those people who always has cold hands and feet, not great for someone who lives in Minnesota. I’m always looking for mittens that will keep my hands really warm. I saw some cute mitten made from felt and thought why not make them out of fleece, better yet two layers of fleece.
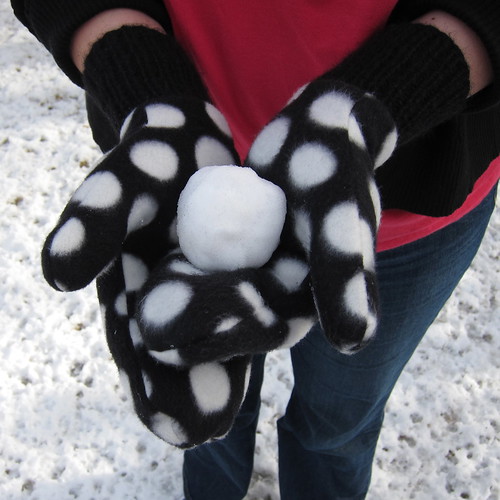
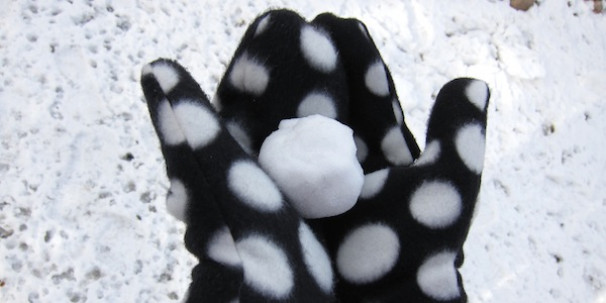
Matt suggested I make them reversible, so it’s like getting two pairs of mittens from one project, a polka dot pair for fun days and grey for when I’m feeling a little more sedate.
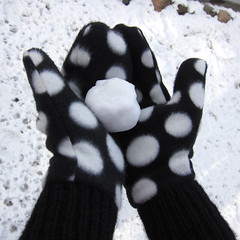
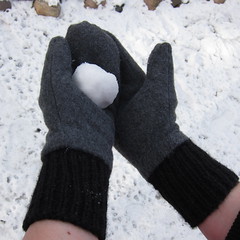
There are a lot of options on how to do the cuffs for these mittens. You can up-cycle from an old sweater or sweatshirt, buy ribbing at the fabric store, knit up your own or skip them all together. I like a good long, snug cuff, so I chose to knit my own from a wonderful chunky cashmerino.
These were really easy to make and super warm. Plus, as someone with long hands, I love the fact they are made to fit me.
Reversible Fleece Mittens
Supplies:
- Paper
- Pencil
- Scissors
- 1/3 yard each of two different patterns of blizzard fleece (Depending on the size of your hand you can get about 7 or 8 mitten halves from 1/3 yard. Which means after cutting the 4 halves from each fabric for this pair I have enough to make 1 more mitten.)
- Pins
- Thread
- Cuff – You can knit your own cuffs, buy ribbing, or use ribbing from am old or thrifted sweater or sweatshirt. (1/11/12 Someone on Crafty suggested using the cuff of a sock for the ribbing on your mitten, great idea.) You can even skip the cuff altogether*.
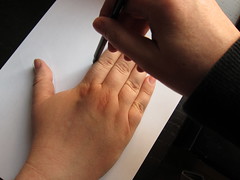
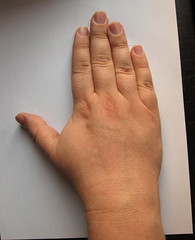
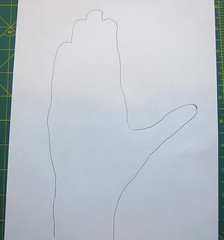
Have someone help you draw the outline of your hand on a piece of paper. You want the outline to be close to the sides and your thumb to be pointing out.
Now sketch the shape of your mitten around the drawing of your hand. You want it to be about 3/4 inch bigger all the way around. It’ll look huge but trust me any smaller will be too tight. Make sure it also goes 3 – 4 inches down your wrist.
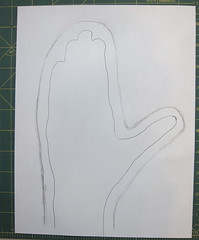
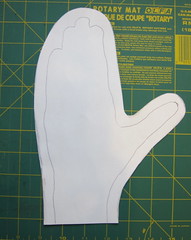
Cut out the mitten. This is your pattern. Using your pattern, cut out 8 mitten halves, 4 from each fleece design.
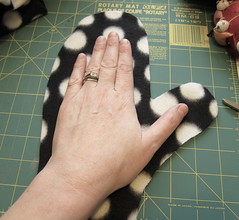
Pin the mitten halves together, right sides facing, so that you have two mittens of each fleece design.
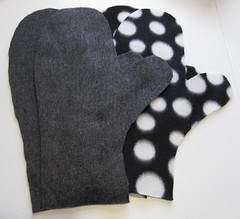
Sew together with an 1/8 inch seam allowance.
Turn one set of the mittens right side out. Put the inside-out ones inside the rightside-out ones. The seam allowances will be facing each other. I found this easiest to do on while wearing the mitten. You now have a right sides on the outside and inside of your mitten.
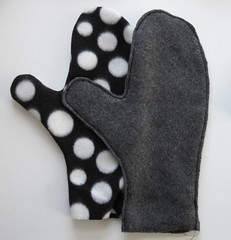
Now it’s time to make a choice, do you want a ribbed cuff? *If you don’t want a ribbed cuff, just turn the bottom unfinished edges of the outside and inside mittens so they are tucked in-between the two mittens. Sew shut.

If you want a cuff you have a couple of options. You can cut a cuff from an old or thrifted sweater, you can buy ribbing from the fabric store or you can knit up cuffs. I chose to knit mine. Whatever you chose, you want to make sure the cuff fits your wrist snuggly, but you can still get your hand in. If you knit your own make sure to bind of loosely!
Turn the bottom edges of your inside and outside mittens so they are tucked in-between the two mitten layers. Pin the cuff in-between the layers.
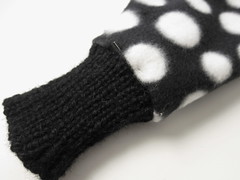
Sew the cuff into place. Really, this is the trickiest part of the whole project. I sewed mine to the outside mitten first, turned it inside out and sewing it to the second mitten. That way I made sure it looked straight no matter which side of the mittens I wore. You could also just sew through all three layer. Try to match the side seams of the two mittens up as much as you can. You won’t notice if they are off slightly, but they fit best if it is close.
If you make a pair of these mittens we’d love to see them in our Flickr group.
© 2005 – 2012 Kathy Lewinski & Susan Cornish



Love that so much!
Where did you find enough snow for a snowball?
Pingback: DIY Reversible Fleece Mittens – Cleverly Caroline