This week it is ‘for the kids’.
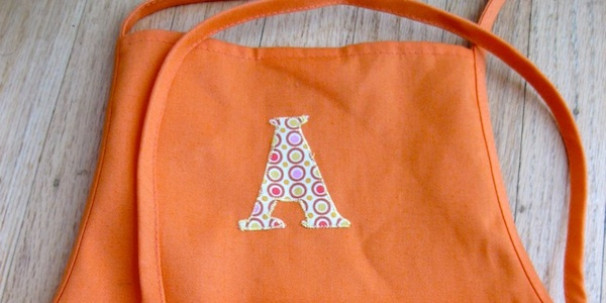
I made some aprons for two special little chefs/artists.
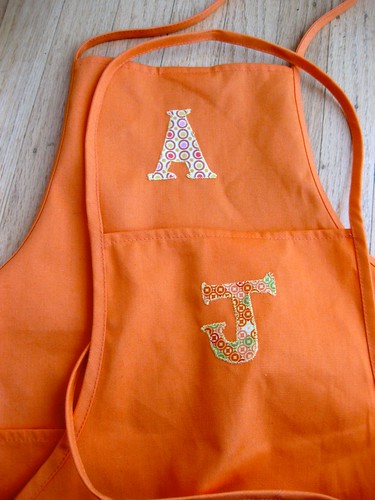
If you would like to make your own here is what you will need:
Supplies
- aprons (or dish towels or t-shirts or anything else to applique)
- fabric (to do the applique)
- Iron-on adhesive
- coordinating thread
- scratch paper for sketching design
Tools:
- Sewing machine
- fabric scissors
- dark pen
I started with aprons.
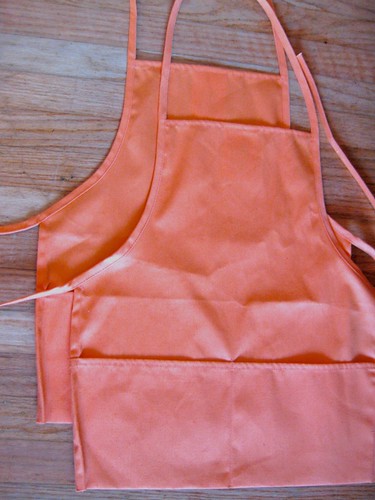
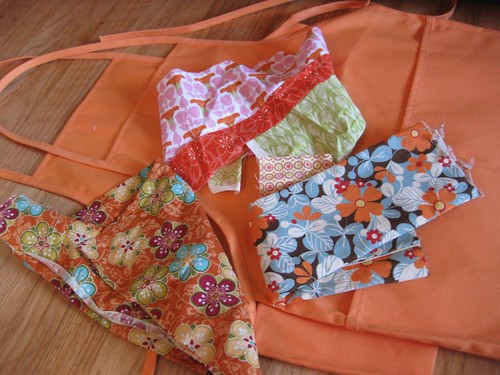
The fun part was picking out fabric I had in my stash for the initials.
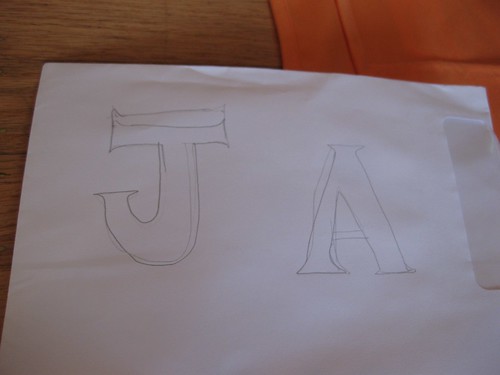
I sketched out the letters.
Then I transferred the letters to the iron-on facing. I ironed the letters to the fabric, and then cut them out.
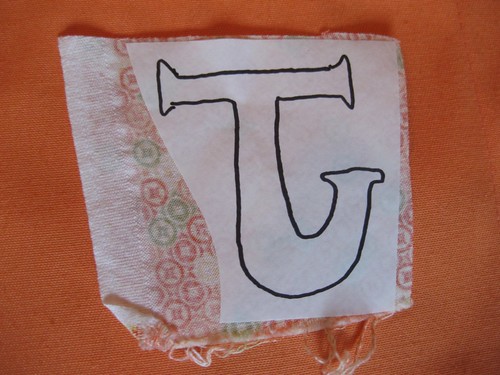
The trick here is to get the letters going in the right direction. I sketched them out “normally”. Then I went around them with a thick black sharpie, so I could see them through the paper. I turned the sketch upside down, and laid the iron-on paper over the top of it. Then I traced the reverse image onto the paper of the iron-on. It is important to get the letter onto the iron-on backwards, because you will iron onto the WRONG side of the fabric, and then peel the paper off, turn over, and iron it down. All of that is a little bit too much to digest without actually doing it, so hopefully I just saved you a trial run.
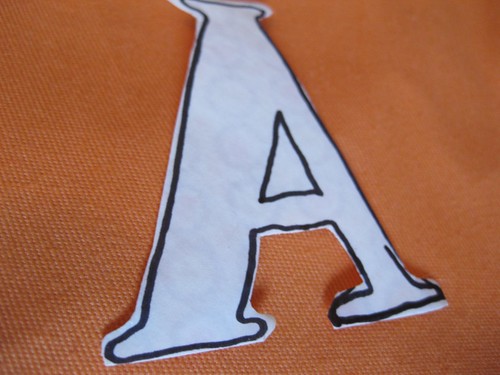
After you iron, let the letter cool for a minute, and cut it out. (it is backwards) Then peel off the paper, place the letter on the apron, and iron again.
Then stitch around them. I used my machine, but you could take it up a notch and embroider too.
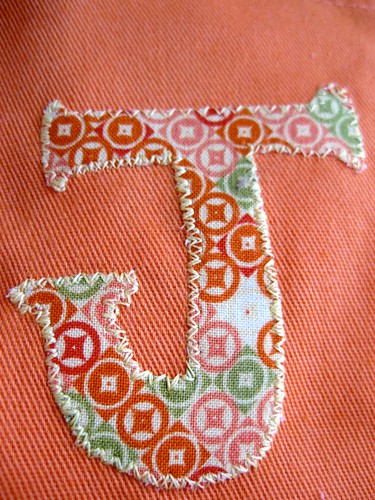
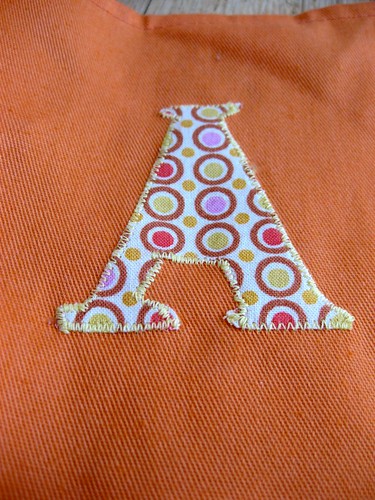
These were fun. And oh so fast. If you try some, be sure to post them to our Flickr group! We would love to see!
© 2005 – 2011 Kathy Lewinski & Susan Cornish

