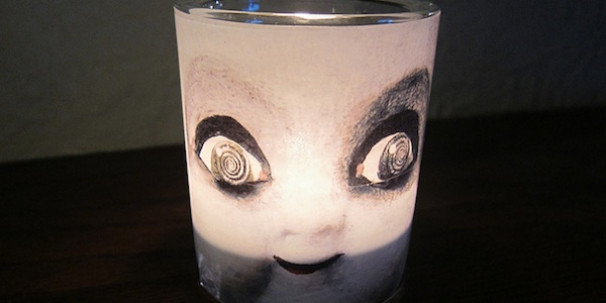
Waterslide decals make it easy to dress up cheap candleholder and other glassware for a spooky Halloween display. I got hooked on them when I found this crazed doll face picture and thought it would look really creepy around a glowing candle.
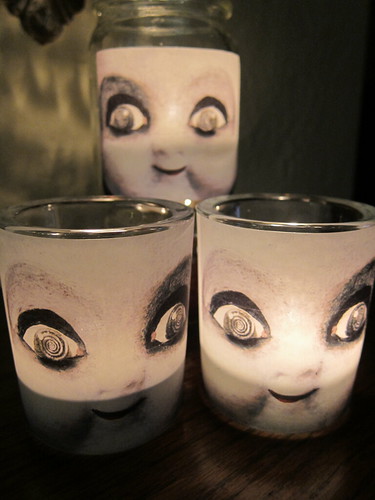
This is a really simple project, but can have a really high impact look. The only tricky parts I found were finding the waterslide paper and cutting out some of the more detailed images.
Supplies:
- Waterslide decal paper (I couldn’t find the decal paper in a store so I bought it online at Lazertran). It’s a little pricey but you can get a lot of things on one sheet.
- Computer and printer
- Scissors
- Glass candle holder or other glassware to be decorated
- Sponge
- Varnish (optional)
How-to:
- Find images that you want to print online. (You could also use images from books or that you draw yourself and scan them into the computer.) Black and white will look best. Size to fit the item you will be putting the image on. Print according to the direction on the waterslide paper. Print as many images as you can on a sheet of paper, so as not to waste it.
- Use the scissors to cut out the images. The decals will dry white so if you are placing the decal on something other than a white dish make sure to pick an image you can completely cut out.
- Float the cut out image in water until it is completely wet and the backing slides off. Use a sponge to help smooth it onto the glass and get out bubbles, be careful not to use too much pressure or the decal might rip. (There are instructions for this with the decal paper.) It is a little confusing as to which way the decal went on the dish, was the side between the backing and the paper the sticky side or was the top? There were really no clear instructions about that anywhere and the decals stuck on both ways. Here’s what I discovered. If you stuck the decal on by flipping it over and pasting the top down when it dried it had a shiny, almost plastic appearance. If you stuck the decal on using the side between the backing and the decal then it dried with a very flat paper appearance.
- At this point the decals are not permanent and can easily be peeled off. But you can varnish over them if you want to. The easiest varnish to use is clear water-based varnish from the craft store. But if you put the decal on something clear and stuck it on so it dried more papery, you can seal it with oil-based varnish and the white areas will become clear.
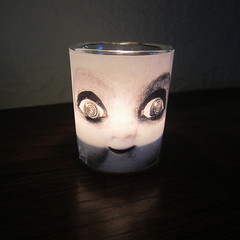
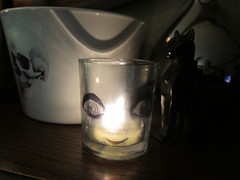
Here is the doll candle before varnishing and after. You can see how all the white became almost clear. I think I prefer how it looks still white.
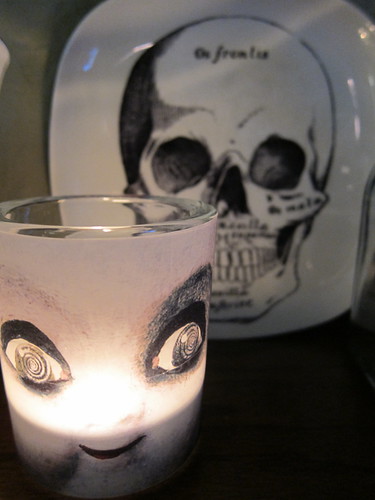
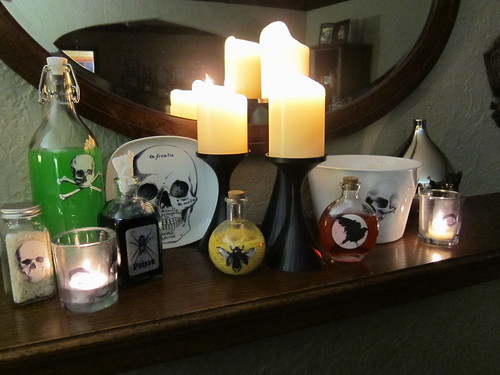
I loved the way the candles looked, so much I did a whole bunch of bottle and dishes for a mantle display. I didn’t varnish them which means they can’t be used to serve food or drink, but I can easily take the decals off with a little water when Halloween is over.
© 2005 – 2011 Kathy Lewinski & Susan Cornish



That is so spooky-awesome! Love that!
The doll face candleholders might be the creepiest things I’ve ever seen! Awesomely nightmarish … I love them!
Pingback: Extreme creepiness « a simple strand of purls
Pingback: gifts n' ideas | Pearltrees
Pingback: 17 Cool DIY Halloween Candles And Candleholders
Pingback: Creepy Doll Face Candle Holders – Candle Making