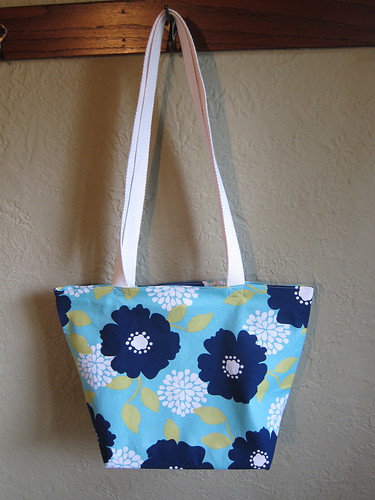
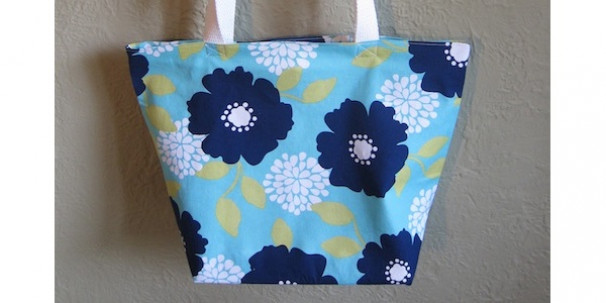
This cute tote bag comes together quickly because you start with a zippered throw pillowcase for the body, meaning you don’t have to sew the body together or insert the zipper yourself. All you have to do is sew in gussets for a flat bottom, turn over the top edge and add some straps.
Supplies:
- zippered throw pillow case ( I find square works best. The one in this tutorial is 18″x18″. I like the ones that are made out of a heavy cotton, almost a canvas.)
(I found these cute pillowcases at Target.)
- ruler
- straight pins
- sewing thread
- heavy plastic canvas or cardboard (optional)
- hand sewing needle
- webbing for straps – I used 2 yards for the shoulder strap on this bag
Sew gussets to make a flat bottom:
Turn the pillowcase inside out. Match the bottom seam up with the side seams to create triangles (the corner of the pillow is the point of your triangle). I find pinning the seams together helps keep them lined up. Figure out how wide you want your bottom to be and draw a line at that length. Make sure that line is perpendicular to your bottom seam. I made mine 6″, so the center is at the seam and each side is 3″.
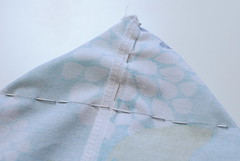
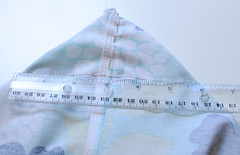
Sew along that line. You’ll see when you turn the bag right side out that gives you a rectangular bottom.

Adding a bottom support (optional):
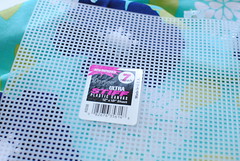
You can leave the bottom like this or make it sturdier by adding a piece of plastic canvas or heavy cardboard. I like to use the canvas because it is easy to sew into the bag and won’t be effected if it gets wet.
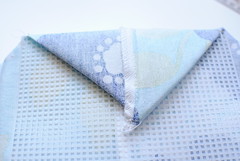
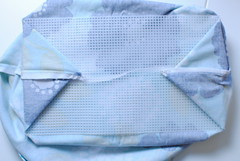
With the bag turned right side out, measure the size of your bottom. Cut your plastic to that size. Turn the bag inside out again. Sew the corners of the plastic to either side of your gussets with a few hand stitches.
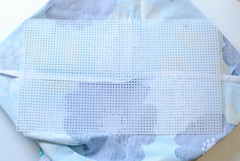
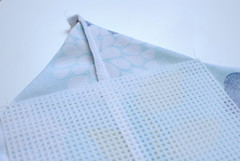
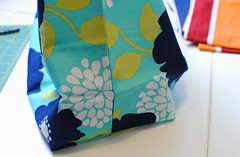
Fold the gussets over the plastic and tack the points down at the bottom seam with a few stitches, once again I did these stitches by hand not machine. Turn the bag right side out and you should have a nice flat bottom.
Top edging and straps:
With the zipper unzipped, fold the top edge 1 1/4 – 1 1/2 inch into the inside and pin in place. Press. Topstitch around the top edge.


Cut two straps from the webbing. Finished the edges to keep the webbing from unraveling. For the plastic-like webbing, you can just melt them a little with a lighter or candle. For the cotton webbing like I used, I sewed across the end of the webbing about 1/4 inch from the bottom few times and then coated the ends in fabric glue.
Pin the straps on the inside of the opening of the bag above the zipper. Mine are 4″ from the sides.
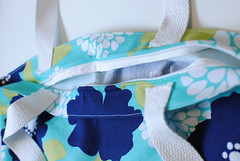
Sew the straps on by sewing a square and then an X for extra strength.
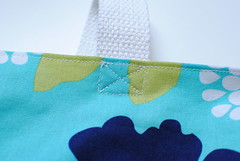
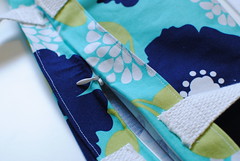
Your bag is done!
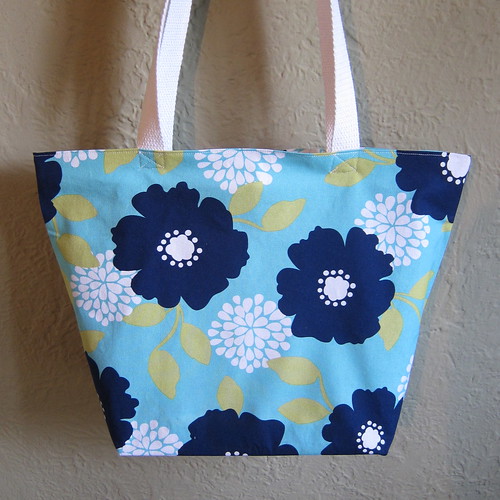
Here’s another one I made two years ago using a larger pillow case from IKEA and a shorter handle.

I hope you whip up a bunch of these easy tote bags and if you do we’d love to see them! Make sure to add your photo to our Flickr group.
© 2011 Kathy Lewinski
www.justcraftyenough.com
Do not sell or duplicate this pattern. Do not sell items made with this pattern. Do not teach this pattern without my permission. Thank you
© 2005 – 2011 Kathy Lewinski & Susan Cornish





Pingback: Sewing | CraftGossip.com
These are AMAZING! What setting did you put your machine on to sew the straps, they look pretty thick to me. Also, did you hand-sew the canvas in?
Sarah – I didn’t set my machine to anything special to sew on the straps or even change needles. I used the cotton straps which are a little softer than the plastic ones. For the plastic ones you may want to change to a needle that handles thicker fabric and sew slowly.
Yes, I did hand sew the canvas in.
Pingback: Mercoledì 5 Ottobre 2011 | Mamma Felice
Great tutorial! thanks for sharing.
Awesome tutorial!
I featured it on my blog.
http://jenellsrevenge.blogspot.com/2011/10/diy-tutorial-link-pillowcase-zipper-top.html
The last one… I have done one from Ikea too. It was years ago.
You can see it at the last photo .
http://wencrafting.wordpress.com/2008/11/13/some-sewing-done/
But, of course mine is so much more amateur.
Thanks for sharing 🙂
In 3 of this 4 projects I used the way that you make the bottom of the bag plus this post help me to realice that everything around us can be transform.
http://diyymas.wordpress.com/momento-especial/regalos-navidenos/
Pingback: 15 Things You Can Do to Upcycle a Pillowcase
Pingback: Pillow case tote bag www.justcraftyeno… – My BLog