For Iron Craft this week we were to make something using buttons. I decided to take things slightly different and make my own buttons.
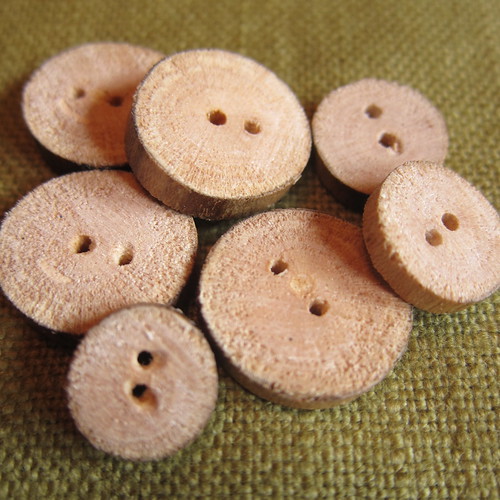
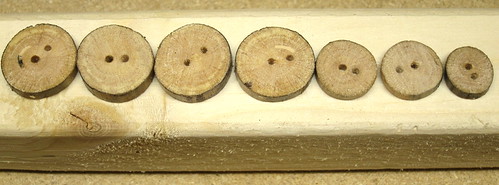
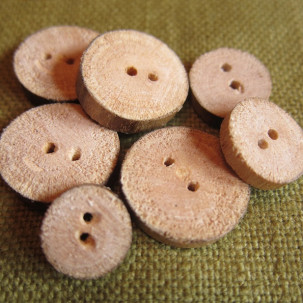
I thought it might be fun to try making some rustic wooden buttons with one of the many tree branches that have fallen in my yard during this summer’s crazy storms. I was hoping the bark would stay on these, but it broke off as soon as I cut them. Matt said, it’s probably because the wood was dry and that a greener branch might hold on to the bark better. I’m not sure what I’m going to use these on, but I have an idea for a pillow embroidered with stylistic trees that they might just look great on.
Wooden Button How-To:
These are super easy to make with just a few tools.
Supplies:
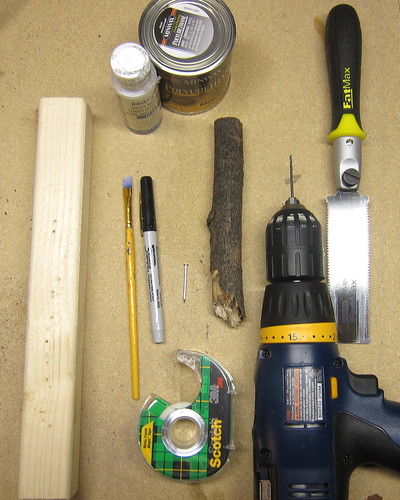
branch about the size you want you buttons
fine tooth saw – Mine is for cutting wall trim
scrap wood to drill into
tape
pen
drill with small bit
fine sandpaper
polyurethane or varnish
small paint brush
Useful but not necessary:
nail about the same size as your drill bit
vise
Making the Buttons
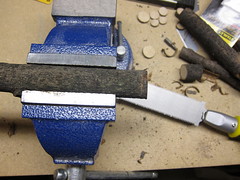
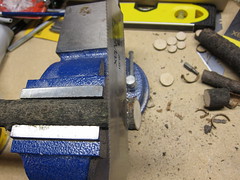
1. Put your branch in a vise if you are using one. Cut thin disks from the branch. Mine were about 1/8″ thick.
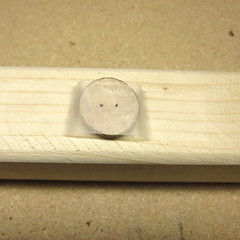
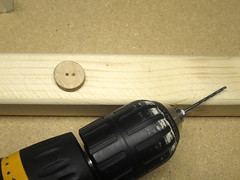
2. Tape a disc to your scrap wood and mark with a pen where you want the holes. My holes aren’t perfectly centered, but I like the way that looks.
3. Use your drill to carefully put in the holes. I found it was best to start slowly or the drill would slip.
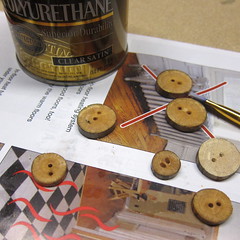
4. Use the paintbrush to coat your buttons in a few coats of polyurethane or varnish. I used a satin polyurethane, but wish I had had something glossier.
5. If the polyurethane starts to clog up your holes, use the nail to open them back up.
If you are not reading this post in a feed reader or at http://justcraftyenough.com then the site you are reading is illegally publishing copyrighted material. Contact us at justcraftyenough AT yahoo DOT COM. All patterns, text and photographs in this post are the original creations & property of the author unless otherwise noted. © 2005-2011 Kathy Lewinski & Susan Cornishl>



Very nice. I certainly have all of the materials to do this at home (excepting maybe the fine toothed saw).
those are so GREAT!!!!!
Fabulous idea! I’m tempted to make some large ones as coasters and draw the holes on with black paint before varnishing.
Pingback: Botões rústicos de madeira | Ideias da Nessa
Pingback: DIY Buttons: Make Your Own Buttons from Natural or Recycled Materials
Pingback: Make Your Own Sewing Supplies :
Pingback: 15 Ways to Use Wood Slices - Dukes & Duchesses
Pingback: Crafting a Green World | The home for green crafts and tutorials!