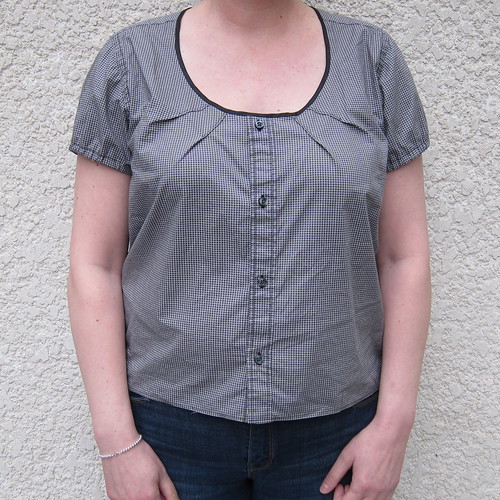
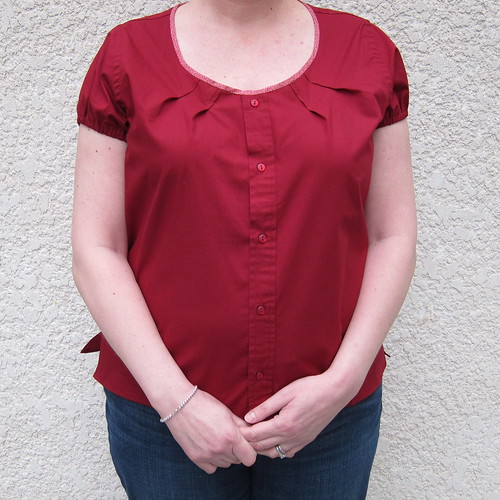
For this Iron Craft challenge we were asked to remake something we would normally throw away into something else. Matt had a bunch of shirts he was getting rid of that I decided to turn into shirts for me (ok, he wasn’t throwing them away, he was donating them). I’d been wanted to try this tutorial from Jezze Prints that turns a men’s buttondown into a peasant style shirt. I am thrilled with the results.

I liked the first one so much that I did a second one.

And a third one is in the works. I think these are the perfect light and airy summer shirt with a little bit of style.
I stuck pretty close the original pattern, especially for the first one, but of course I learned a few things and made a few changes as I went along.
- All the shirts I used had pockets on them. The pockets need to be removed with a stitch ripper before you can refashion the shirt (they will get in the way of the pleats). If you see where the pocket was a little water and iron should get rid of the stitching marks.
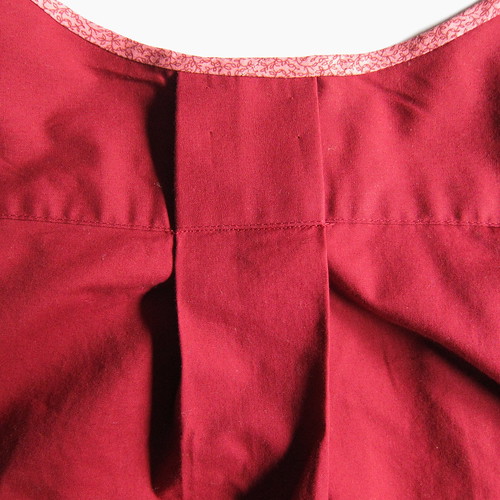
- Cutting the tag out of the back of the shirt made it much easier to create the pleat at the back.
- When cutting out the neckline start smaller than you think you want and increase the size a little at a time. You can’t add fabric back on but if the neckline is a little too wide you can make the pleats a little bigger to bring it in. Get the right shaped neckline was the trickiest apart.
- When you cut the neckline make sure to pay attention to where the buttons are. You want to have enough space to attach your bias tape & not be right on the button. It seemed on both shirts the depth I wanted was right by a button.
- Sewing the pleats down a few inches really helps hold the shape of the top of the shirt.
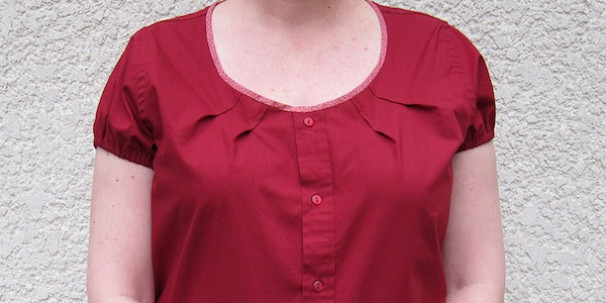
- She just hemmed around the neckline but bias tape will give you a much nicer look. I found 1/4 inch double folded worked best for me. For the red shirt I made my own tape from a pink and red floral fabric. I was pretty proud of my bias making skills.
- On my black and white shirt, the bias tape goes across the top if the button panel so it cannot be unbuttoned completely again. On the red shirt, I started and ended the bias tape at the button panel so it can be opened completely. Sometime in the fall I like to wear this style shirt with a t-shirt under it and may want to unbutton the top a little.
- The pattern calls for you to sew the pleat at the back down at the thinnest part of your back. I found that just looked weird. Instead I sewed it down along the yoke line of the shirt. This way it looks like it was made that way. Now a skinnier girl that me may want more shaping than that, but it was perfect for me and these are not supposed to be form fitting shirts.
- If you are like me and have hips, you may find a men’s shirt is too tight at the bottom. I cut down my shirts to just above the hips and opened the side seams a few inches for slits. This also allowed me to get rid of the shirt tail bottom.
- Changing the buttons can make a big difference in how the finished shirt looks. I felt like there was something off about the red shirt when I finished sewing it. Then I realized it was the grey mens’ shirt buttons. I changed those out to red ones and it was like a different shirt.
© 2005 – 2012 Kathy Lewinski & Susan Cornish


These turned out great. I may have to check Andy’s closet to see what I can find.
These are very pretty.